Drilling a water well is a precise and multi-phase process that provides long-term access to clean, reliable water—especially in rural areas like those across Pennsylvania, Maryland, and West Virginia. Whether you’re installing a new well for your home, farm, or business, it’s important to understand each phase of the project to ensure safety, efficiency, and compliance with local regulations.
In this step-by-step guide, the pros here at Sperry Drilling Inc. will walk you through what to expect—from the initial survey to final testing and water delivery.

Step 1: Site Evaluation and Surveying
Before any drilling begins, the well site must be carefully selected and evaluated.
Key considerations:
- Distance from contamination sources (e.g., septic systems, livestock areas)
- Access for drilling equipment
- Soil and rock conditions
- Elevation and drainage patterns
At Sperry Drilling Inc., we follow PA DEP and National Ground Water Association (NGWA) guidelines to ensure all wells are placed in safe and legally compliant locations.
Learn more about location standards at the PA DEP Private Water Systems page.

Step 2: Drilling the Borehole
Once the location is approved, drilling begins using specialized equipment such as a rotary drilling rig or air rotary rig, depending on site conditions.
What happens during drilling:
- A borehole is drilled to reach the desired depth (can range from 100 to 500+ feet)
- Cuttings (rock, clay, sand) are removed from the hole
- The drill continues until a sufficient water-bearing formation is reached
Drilling depth is determined by factors like geology, water table depth, and usage needs.

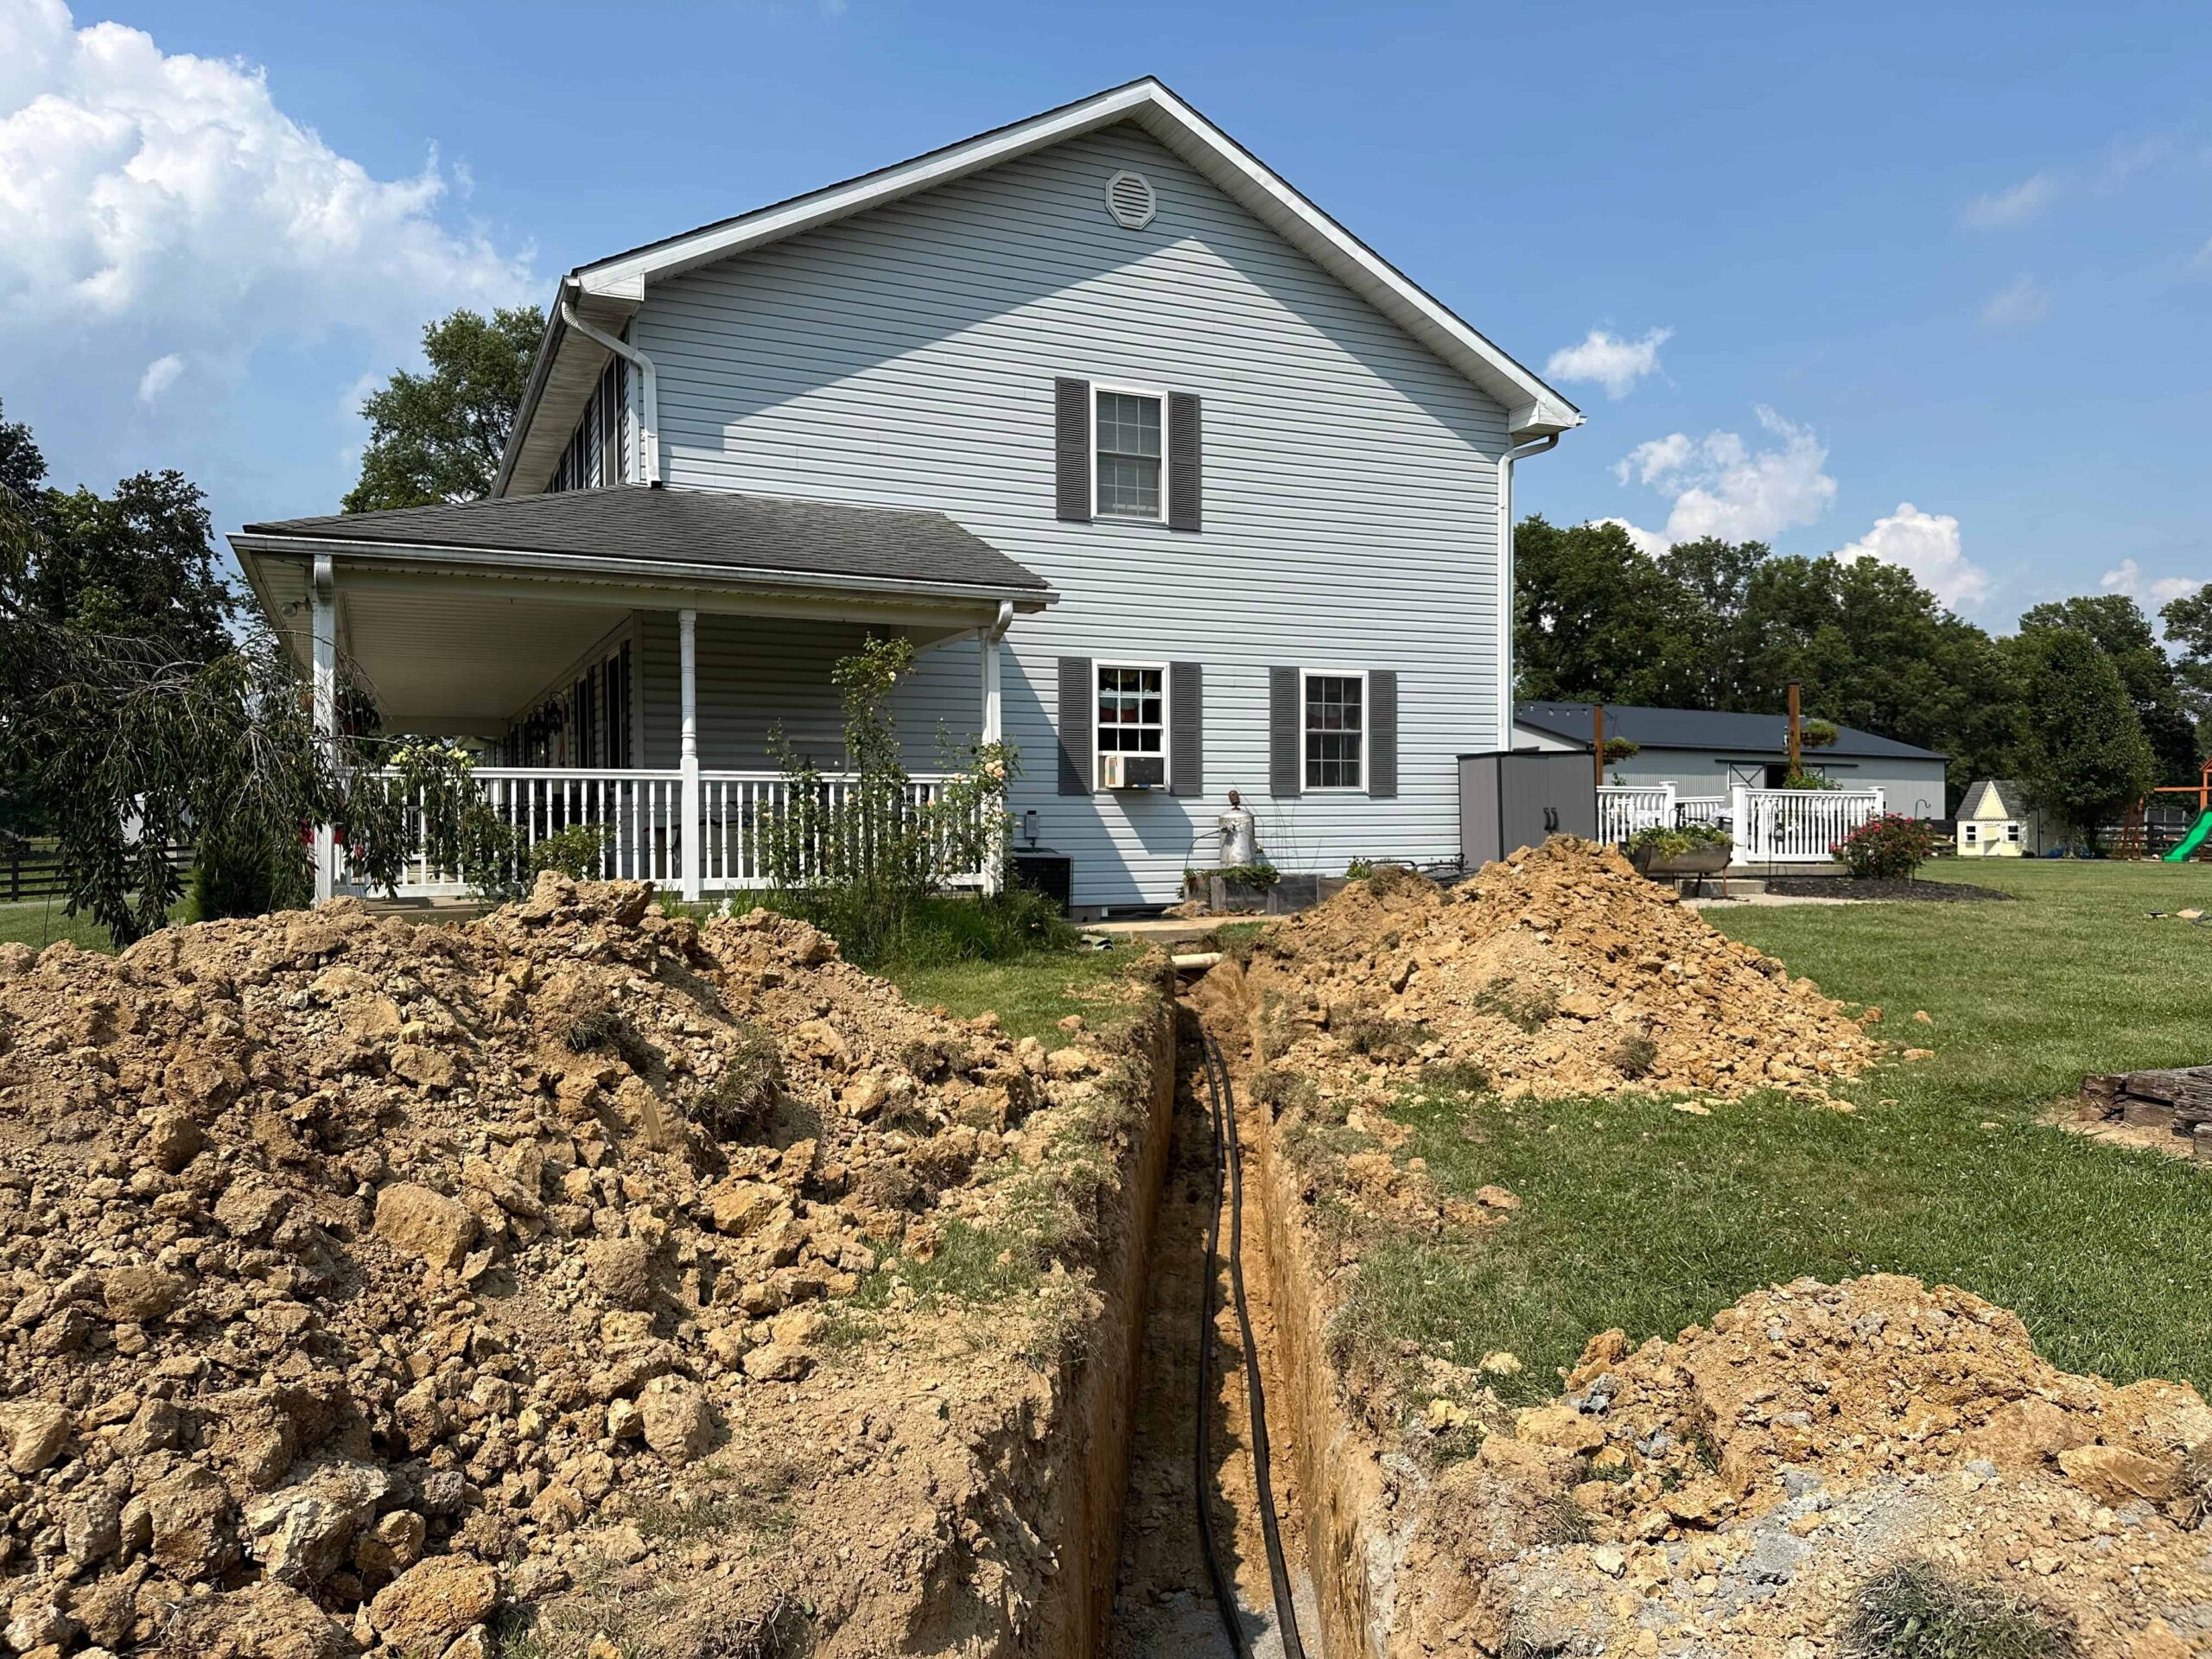
Step 3: Installing the Casing and Grout
The casing is a durable pipe, usually PVC or steel, that lines the borehole to prevent collapse and protect water quality.
Components:
- Well casing: Keeps the well structure intact and blocks surface water infiltration
- Grout seal: Cement or bentonite is used to fill the space between the casing and borehole wall, sealing out contaminants
- Well cap: A sanitary seal placed at the top to protect against debris and insects
Proper casing and sealing are essential for long-term water safety and well performance.

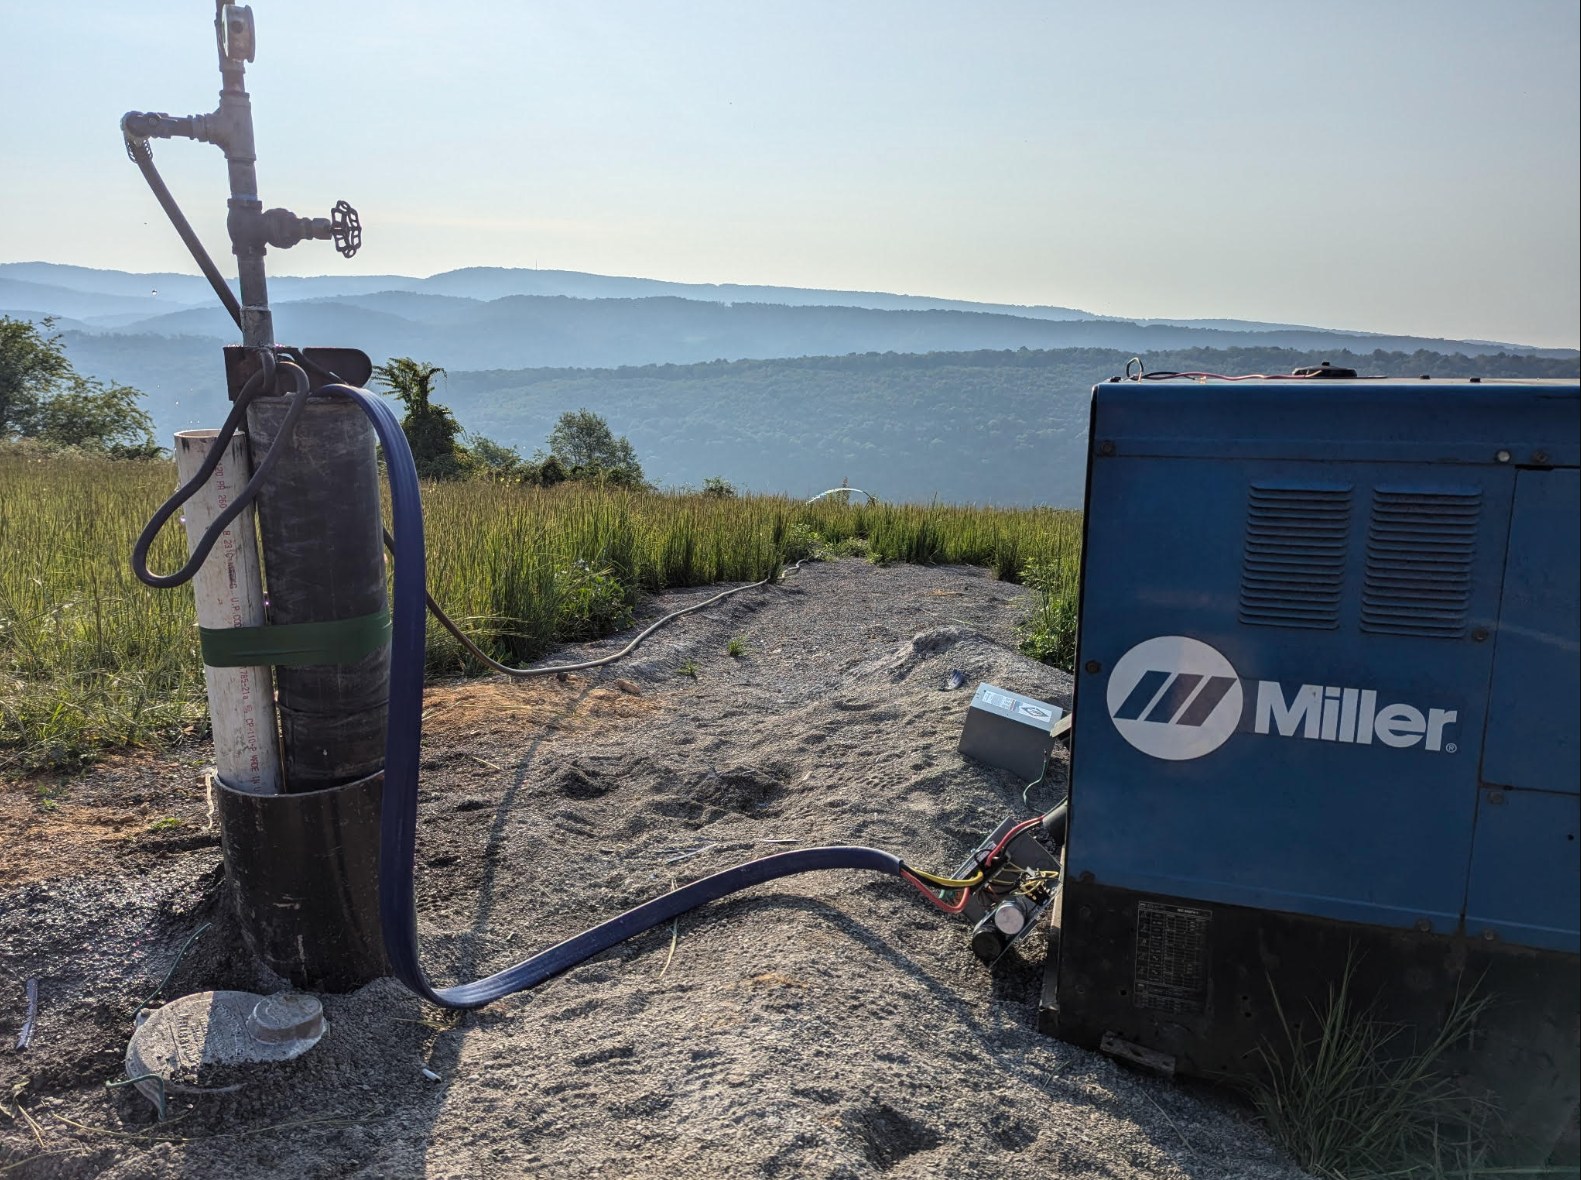
Step 4: Well Development and Pump Installation
After casing, the well is “developed” to remove fine sediment and improve water flow from the surrounding aquifer.
This phase includes:
- Surging or air-lifting to remove debris and loosen fine particles
- Test pumping to determine the flow rate and drawdown
- Pump system installation, including the submersible pump, pressure tank, and control systems
At Sperry Drilling Inc., we use high-quality components from brands like Franklin and Goulds for reliable, long-lasting performance.

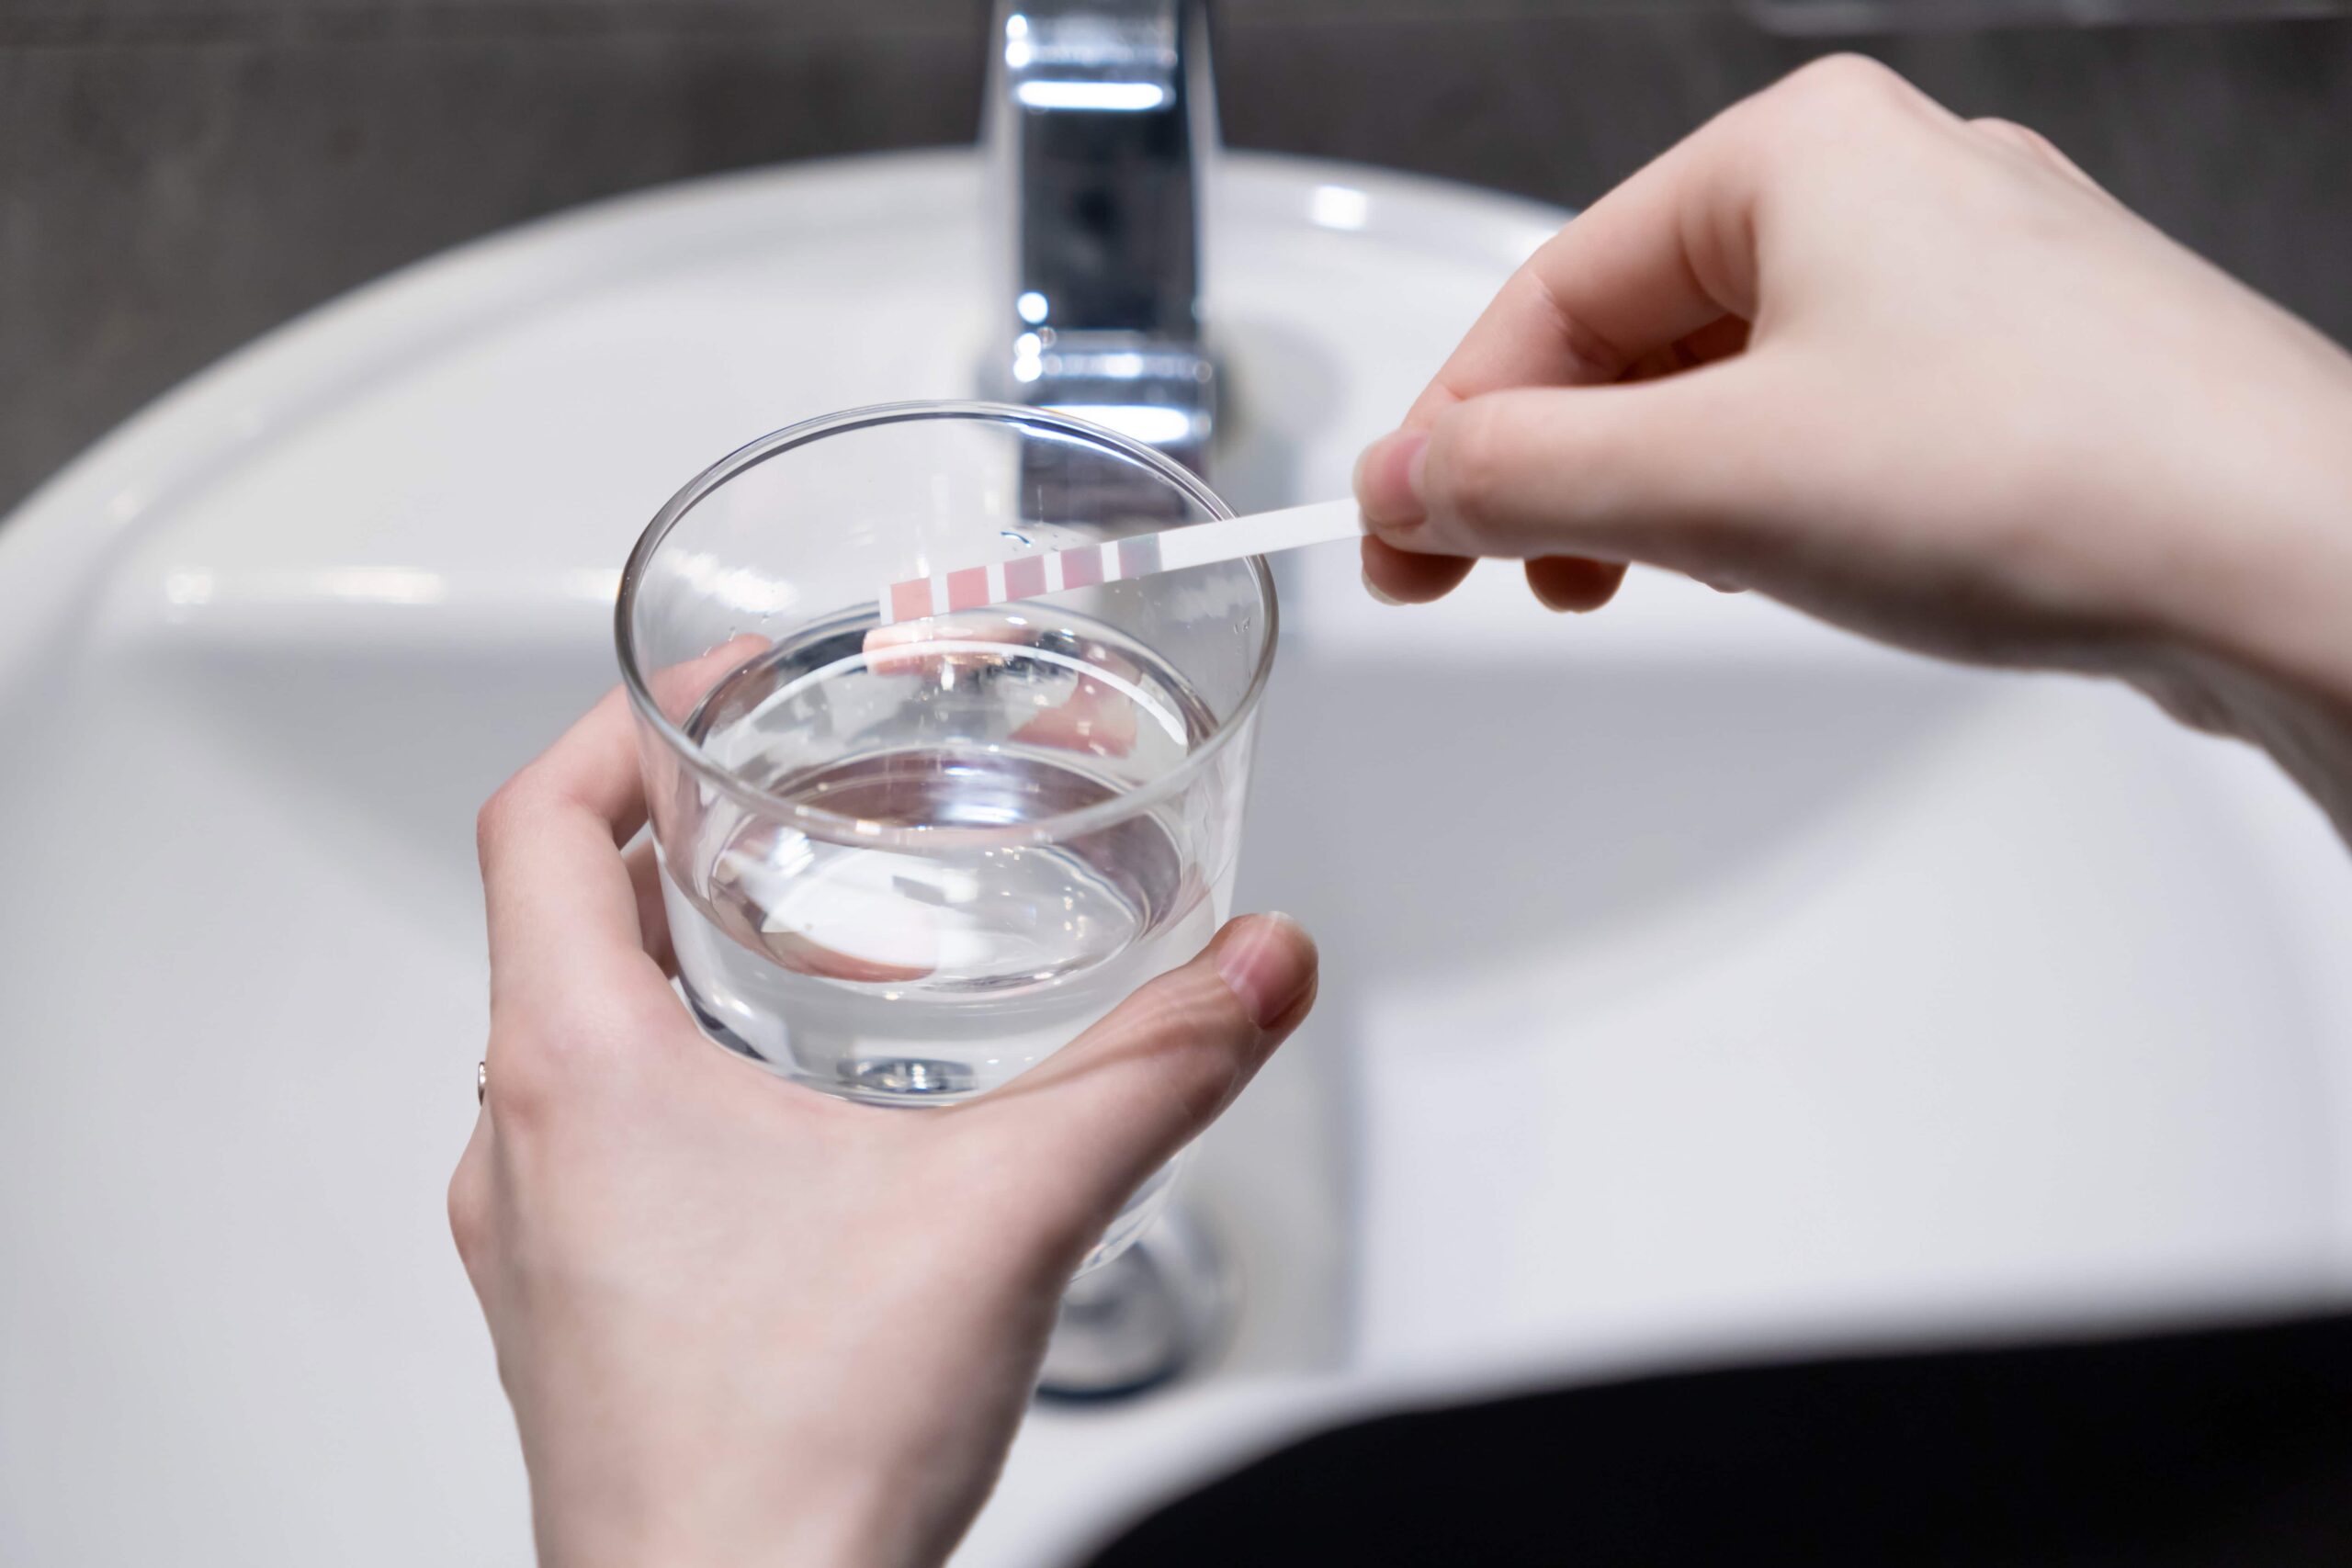
Step 5: Final Testing and Water Quality Analysis
Before your well can be put into use, it undergoes thorough testing to ensure safety and compliance.
Final steps:
- Flow testing: Confirms adequate water output and recharge rate
- Water quality testing: Checks for bacteria, nitrates, iron, and other contaminants
- System inspection: Ensures all components are installed correctly and functioning properly
Customers receive a well completion report with documentation of drilling depth, casing, pump type, and testing results. Regular testing after installation is strongly recommended for ongoing health and safety.

Start Your Well Drilling Project with a Trusted Local Expert
Ready to drill a new water well? At Sperry Drilling Inc., we bring over 55 years of experience to every project—offering professional well drilling, pump installation, and water quality solutions across Pennsylvania, Maryland, and West Virginia.
Call us today at (814) 267-3487 or contact us online to schedule your consultation and receive an estimate.